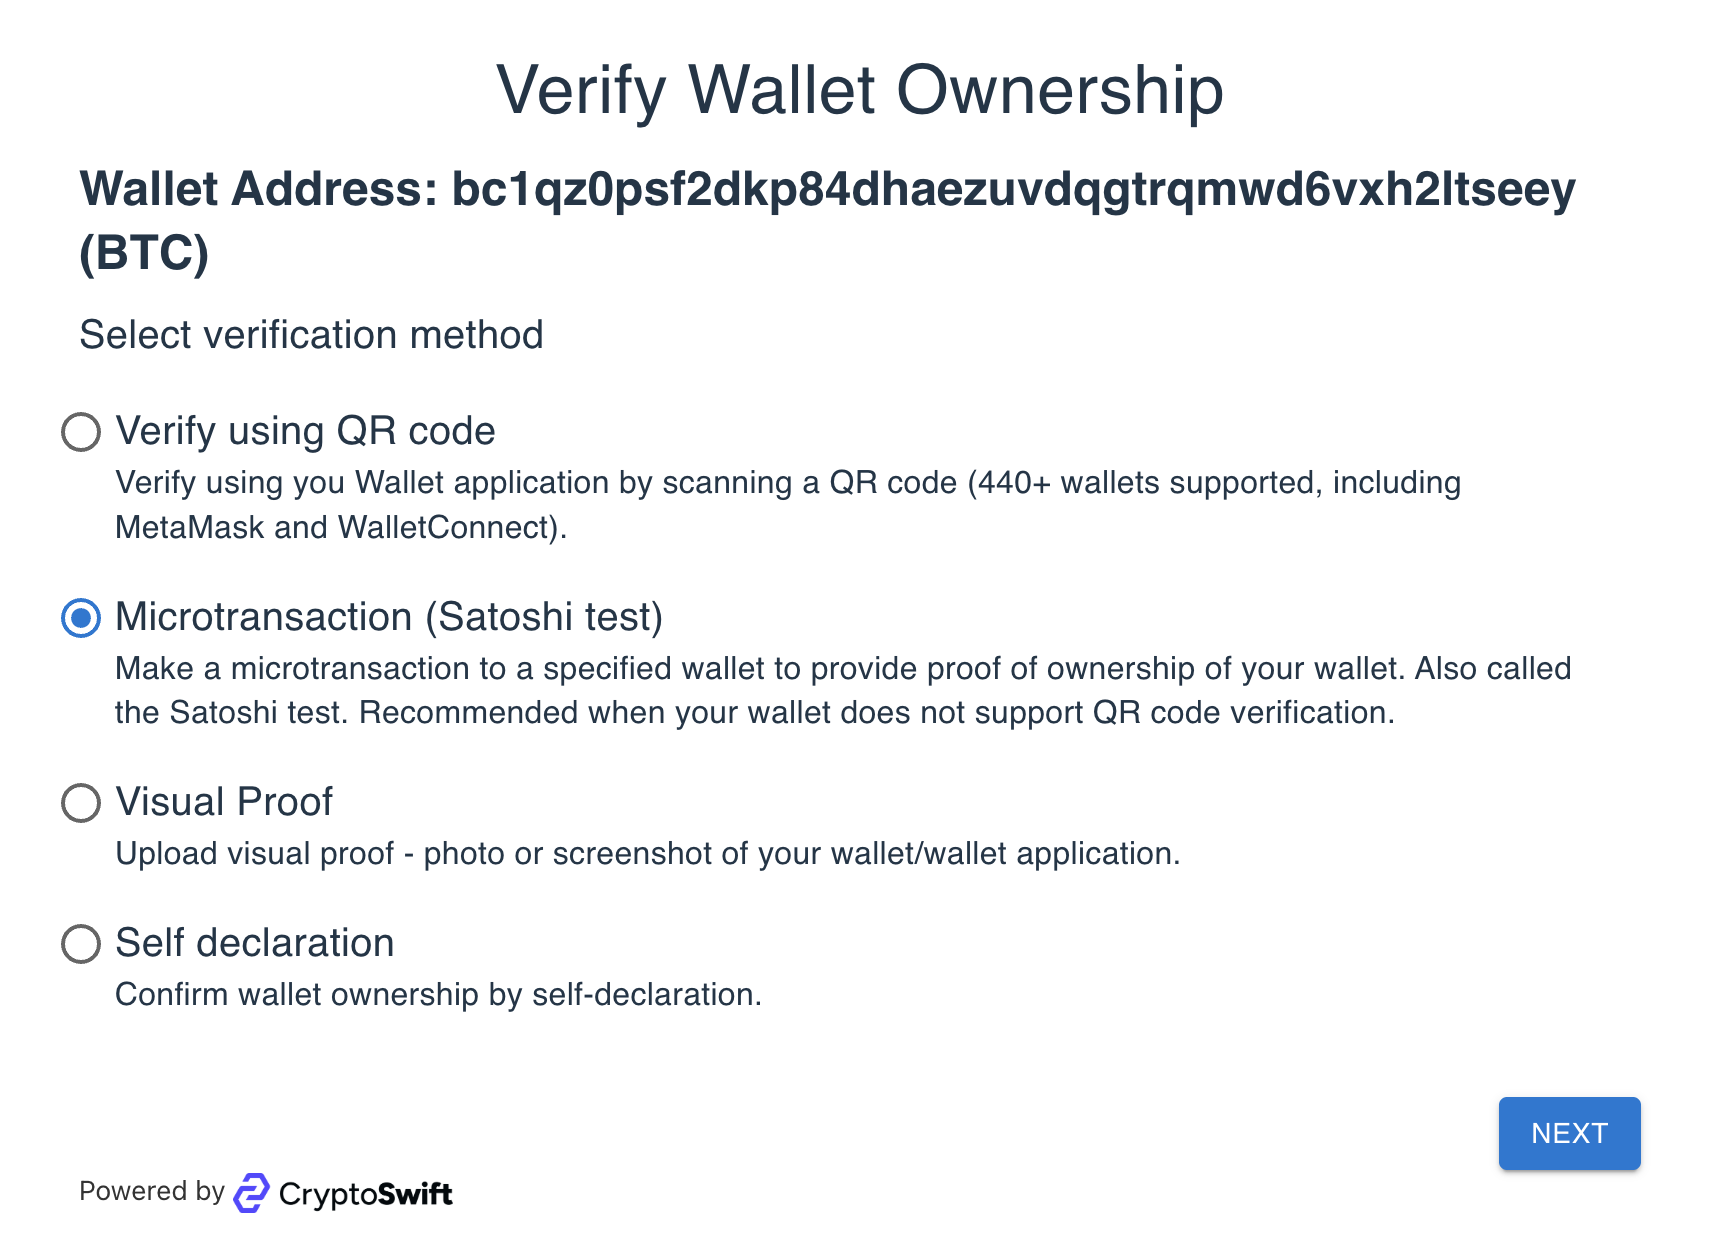
Widget Integration
Self-Hosted Wallet Verification Widget
Implementing multi-flow, self-hosted wallet verification can be complex. CryptoSwift provides an all-in-one solution that’s easy to integrate. Choose either:
- Embed the Web Component directly in your app, or
- Use the Hosted Standalone App: redirect users to CryptoSwift for verification, and we’ll redirect them back to your app with the result.
The widget is responsive, customisable (colors, fonts, logo) and has multilanguage support.

To start a self-hosted verification via the widget, follow these steps.
1) Create a Verification Session
Before launching the flow, create a session via API to obtain a widget token.
curl --location 'https://api.cryptoswift.eu/wallet-verification/widget' \
  --header 'x-api-key: <YOUR_API_KEY>' \
  --header 'Content-Type: application/json' \
  --data '{
    "satoshiFlow": {
      "depositAddress": "025ecb213e8322af685473d2e4c8b23b5c104a9e57822027380a9bf6cd68dc2bfc"
    },
    "asset": "BTC",
    "blockchain": "Bitcoin",
    "address": "02f852bec98de40721fe0c5188c7255f7bc8592c1a1bcddb7d0c8edbf47f0f503c",
    "allowedLanguages": ["en", "et"],
    "redirectUrl": "https://your.crypto-app.domain/wallet-verification",
    "origin": "https://your.crypto-app.domain:80"
  }'
Required:
asset— e.g.,BTC,ETHblockchain— e.g.,Bitcoin,Ethereumaddress— wallet address to verify
Optional:
satoshiFlow— in case you want to use Satoshi Test; includedepositAddressand optionalamount(if omitted, we generate it)allowedFlows— restrict which verification flows may be used; if omitted, the widget auto-selects suitable flowsallowedLanguages— array of allowed interface languages (enum:en,et,cs,hu,pl,ru,uk,es,ko). If omitted, all available languages remain selectable.redirectUrl— required for the Hosted Standalone App; not needed for the in-app Web Componentorigin— required for the Web Component; sets the allowed host and is validated client/server for security
Refer to the API documentation for full schema and examples.
Response:
{
  "token": "97857f6c-396a-4d68-a1bf-563bfb76c5b6",
  "walletVerificationId": "9f3dc458-a2be-4a34-bcb7-f1f677a0864c",
  "url": "https://wallet.cryptoswift.eu/?token=97857f6c-396a-4d68-a1bf-563bfb76c5b6"
}
Use the token to initialize the widget (either as a query param for the hosted app or as a data-token attribute for the web component).
Use the walletVerificationId as a reference to the wallet verification record. You can always re-check the verification status by ID using the API.
2) Integrate the Widget
Option A: Web Component (embed in your app)
1. Load the component
<script type="module" src="https://wallet.cryptoswift.eu/widget/wallet-verifier.js"></script>
2. Add the element
<wallet-verifier
  id="wv"
  data-token="97857f6c-396a-4d68-a1bf-563bfb76c5b6">
</wallet-verifier>
When initializing <wallet-verifier>, you can add general attributes:
data-is-demo="true"— loads the widget in demo mode so nodata-tokenis required. Use this during initial development and layout work.data-full-size="true"— removes the component’s max width and makes it always stretches to its parent’s full width, and full height (or more in case content does not fit into the parent element’s height).data-language="en"— preselects the widget language. See the up-to-date list of supported codes in the createWidget API docs. If you need a language that’s missing, let the CryptoSwift team know—we’re happy to add more.
By default the widget uses the theme stored via the Tenant Settings API, but you can override specific values per instance via data attributes:
data-font-family="Inter"— overrides the tenant theme font just for this instance (defaults to the API-stored theme).data-font-color="#111111"— overrides the main text color.data-primary-color="#0047FF"— overrides the primary action color.data-background-color="#F4F6FB"— overrides the widget background.data-logo-url="https://example.com/logo.png"— uses a custom logo URL without updating tenant settings.data-service-name="My Company Title"- overrides the organisation name.
Dynamic token update (optional):
const verifier = document.getElementById('wv');
verifier.setAttribute('data-token', tokenFromApi);
3. Handle completion
<script>
  document.getElementById('wv')
    .addEventListener('verification-complete', (event) => {
      // event.detail contains:
      // id, status ("PENDING" | "VERIFIED" | "FAILED" | "DELETED"),
      // flow, address, asset, blockchain
      console.log('Verification result:', event.detail);
    });
</script>
For additional security, you can always re-check the verification status by ID using the API.
4. Handle errors
The widget handles most errors gracefully by default, enabling users to retry steps or restart the verification flow. However, integrators can also handle errors directly at the integration layer if needed—for example, to apply custom logic or fallback behavior. For GENERAL_API_ERROR events specifically, we recommend reloading the widget or starting a new verification session for the user.
In case of failures, the widget emits error events that can be subscribed to:
<script>
  document.getElementById('wv')
    .addEventListener('verification-error', (event) => {
      // event.detail contains: errorCode & message
      console.log('Verification error:', event.detail);
    });
</script>
We recommend to listen to error events in order to enhance user experience.
Option B: Hosted Standalone App (redirect)
Redirect users to:
https://wallet.cryptoswift.eu/?token={{TOKEN}}
After the flow completes, the user is redirected to your redirectUrl. The verification ID is appended as a query parameter, which you can then verify server-side using the API.
Customization
You can configure the widget via API or through the Client Dashboard (settings screen). In the Client Dashboard, you have an instant widget preview that makes theming easy.
Theming
Update tenant settings via:
PATCH https://api.cryptoswift.eu/tenant/me/settings
Theme parameters:
fontFamily— Google Fonts family name (see fonts.google.com)fontColor— hex color (e.g.,#111111)primaryColor— hex color for primary actionsbackgroundColor— hex color for page background
See the Tenant API docs for payload details.
Logo
Upload a branding logo displayed in the widget:
POST https://api.cryptoswift.eu/tenant/me/settings/logo
Refer to the Tenant Logo API docs for request format and constraints.
Icon
Upload a branding icon displayed in the widget:
POST https://api.cryptoswift.eu/tenant/me/settings/icon
Refer to the Tenant Icon API docs for request format and constraints.
Multilingual Support
Supported languages:
- Czech
- English
- Estonian
- Hungarian
- Polish
- Russian
- Ukrainian
Choose a language by:
Adding the
languagequery parameter to the hosted URL (ISO 639-1):https://wallet.cryptoswift.eu/?token=...&language=et
Setting the
data-languageattribute on the web component:<wallet-verifier data-token="..." data-language="et"></wallet-verifier>
Notes & Best Practices
- Use production or sandbox hosts consistently across your app:
api.cryptoswift.euandwallet.cryptoswift.eufor production;api-dev.cryptoswift.euandwallet-dev.cryptoswift.eufor sandbox.
- When embedding, set
originto the exact host:port that serves your app to pass client/server origin checks. - Always validate verification results server-side using the returned verification ID.
- List of possible errors can be found in the API docs